Custom Quote Request Form
Keg Collars

| Material |
White: SBS (C2S) Brown: Natural Brown Kraft Card Stock Stock Thickness: 300 gsm, 350 gsm , Custom |
| Size |
6 x 6 inches 7 x 7 inches 5 x 5 inches All Custom Sizes Available |
| Finishing Types |
Lamination: Gloss, Matte, Sandy Matte, Soft Touch, Pattern Coating: Gloss AQ, Satin, Varnish, Spot UV, Flood UV |
| Features |
Foil Stamping Embossing Debossing Custom Die-cut Shapes Metallic Inks |
| Other Options |
Punch Hole for Central Cut-out Elastic or Regular Strings Custom Perforation Adhesive on Back |
| Price | As Low as $0.1 Per Piece |
| SKU# | BN-005 |
What are Keg Collars
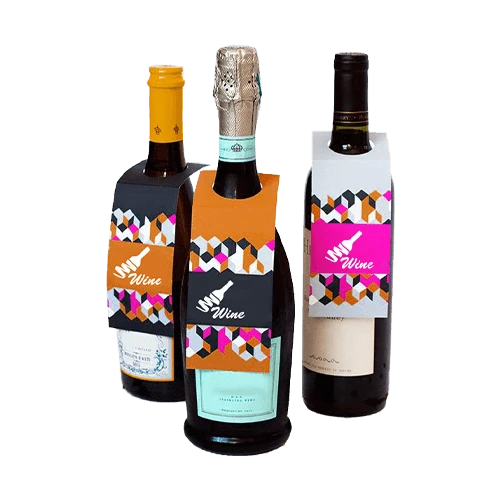
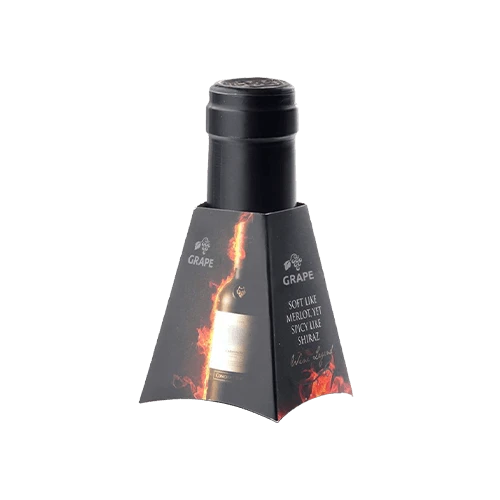
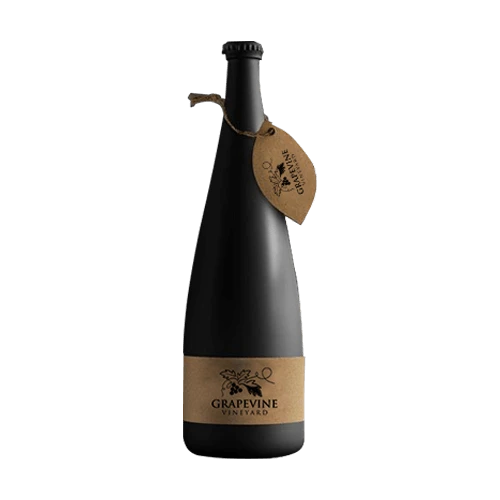
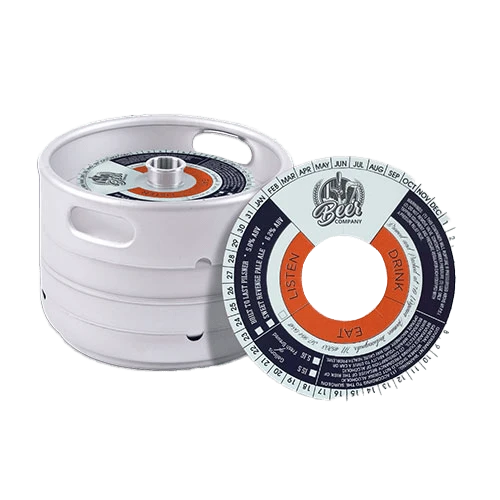
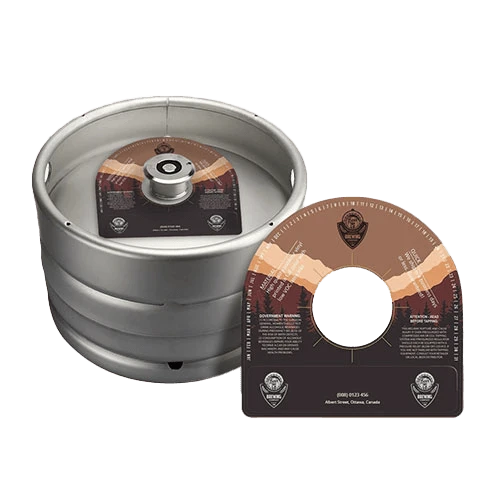
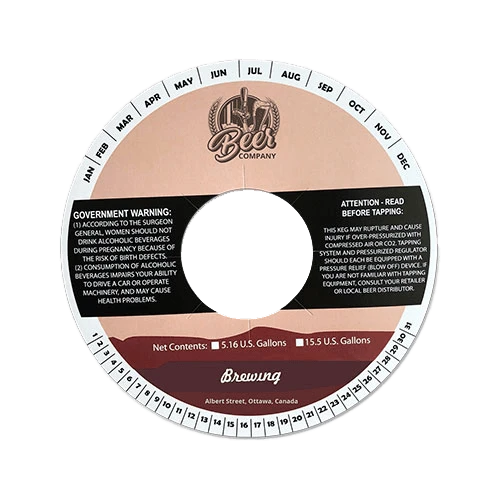
A keg collar is a label that is placed around the neck of a keg of beer or another beverage. The collar typically contains information about the product, such as its name, brand, ingredients, alcohol content, and any relevant warnings or disclaimers. These tags are used for identification and marketing purposes, and they can be helpful for bars, restaurants, and other businesses that serve draft beer.
Here are some steps you can follow to design a keg collar:
- Determine the purpose: Is it for branding or identification purposes? Will it include information about the beer or other product inside the keg?
- Choose a size and shape: These tags are typically circular, but they can come in other shapes as well. Consider the size of the keg and the amount of information you want to include on the collar when deciding on a size.
- Select materials: They can be made from a variety of materials, including paper, plastic, or vinyl. Consider the durability and water resistance of the materials as well as their appearance and cost.
- Design the layout: Consider the elements you want to include in the design, such as the brand name, logo, product name, and any required information (such as alcohol content). Arrange these elements in a visually appealing and easy-to-read layout.
- Choose colours and fonts: Use colours and fonts that are consistent with your brand identity and that are easy to read. Avoid using too many colours or fonts, as this can make the keg collar look cluttered and confusing.
- Test the design: Before printing, it's a good idea to test the design by creating a mock-up or proof. This will allow you to see how the printed product will look in real life and make any necessary changes.


